
Receptions and Expeditions
From the main menu select Receptions and Expeditions - Documents to scan.
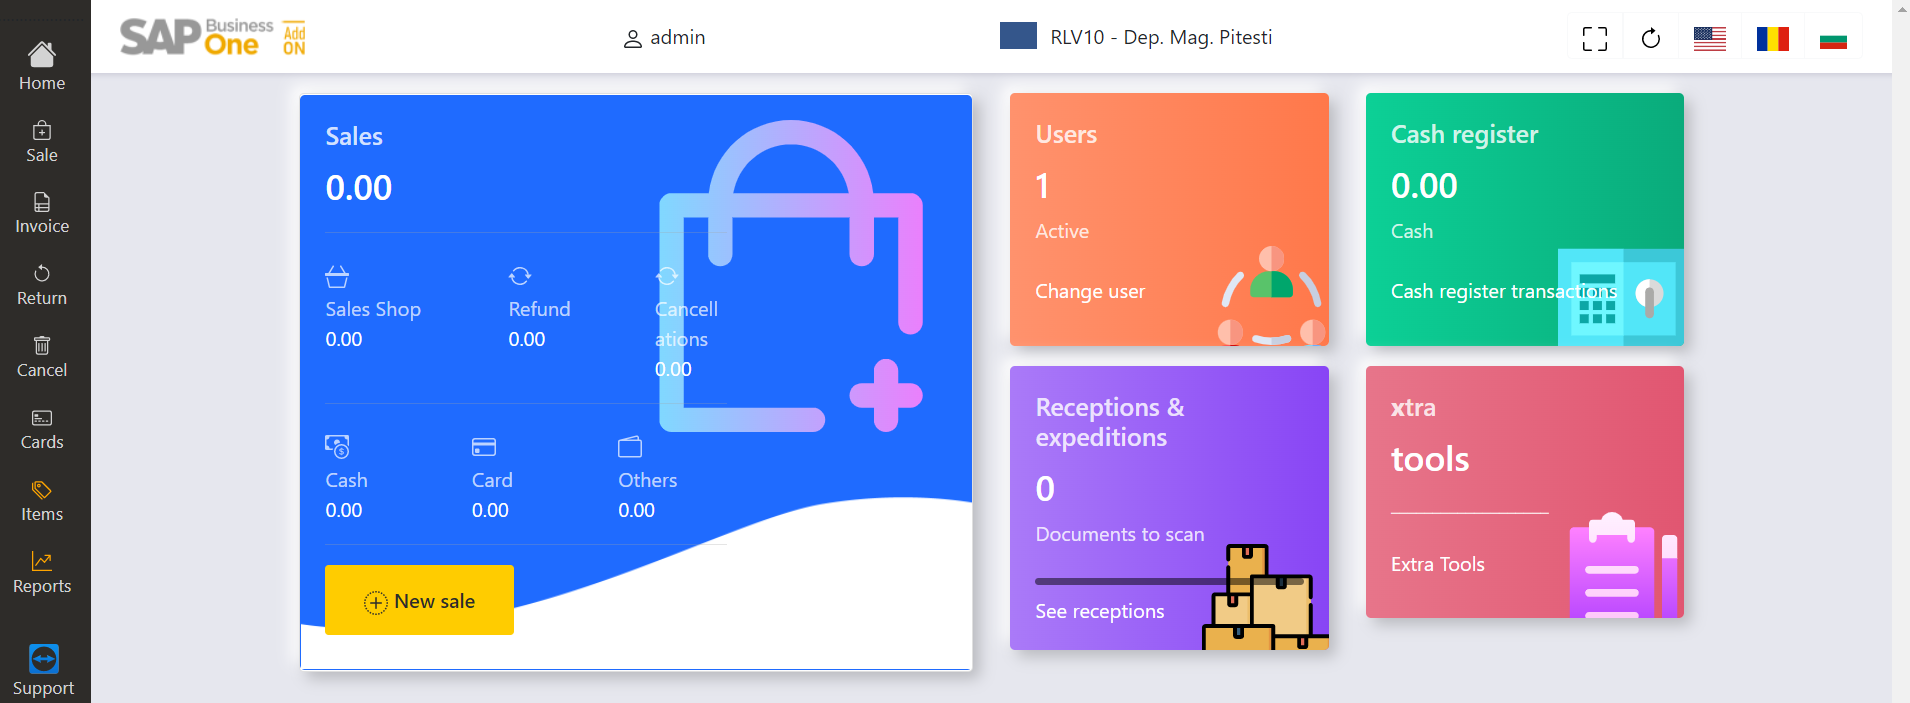
In the main menu there are information's displayed regarding the documents processed as receptions and deliveries.
Once the See documents options is selected the documents will be displayed in separate tabs.
The documents have been grouped as:
Receive from Supplier (based on the supplier invoice);
Receive from other shops (based on expedition for internal transfer);
Grouped Orders (send orders grouped based on the destination).
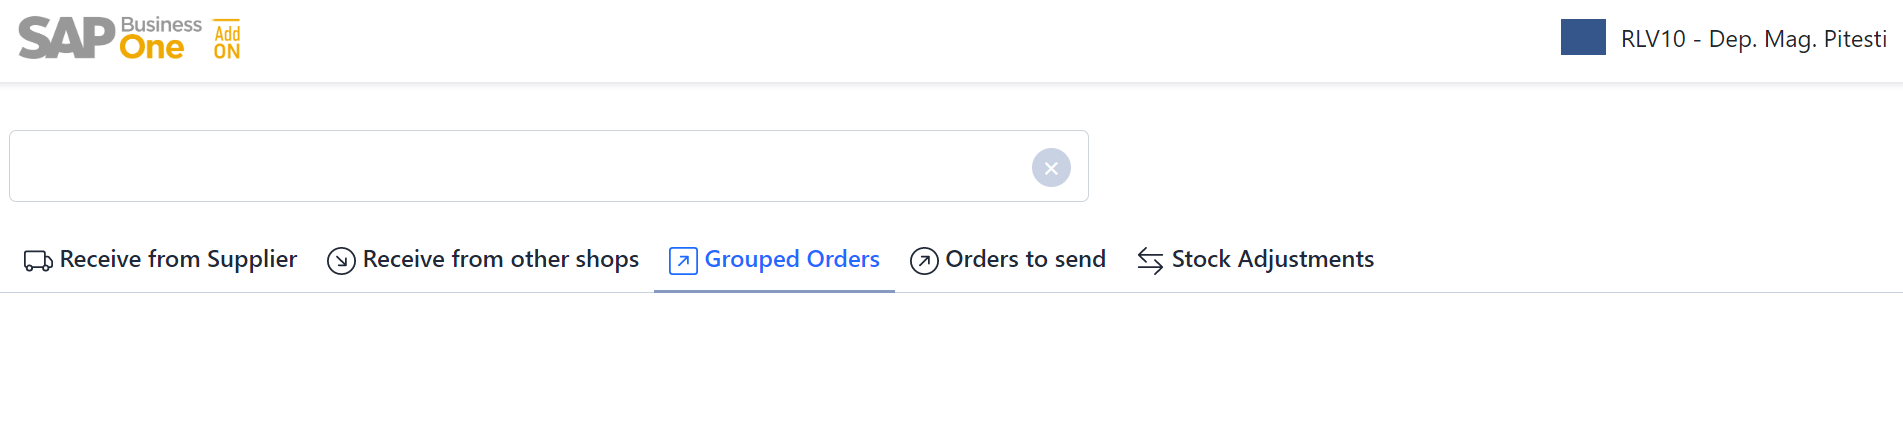
By selecting the proper tab, the documents that are to be processed will be displayed.
1. Receptions (from supplier or different shop)
In the Supplier Receptions tab or Receptions From Shops the documents regarding the processing of the receptions are displayed.
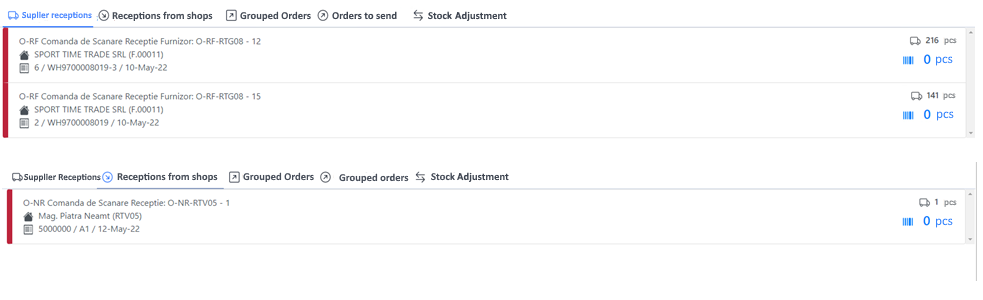
In order to do the reception select the desired document and the screen will show the document's content.
In the first tab Document, the codes and names of the items from the document's lines, the quantity from the document and the quantity scanned until that moment, including the difference between the scanned quantity and the document quantity.
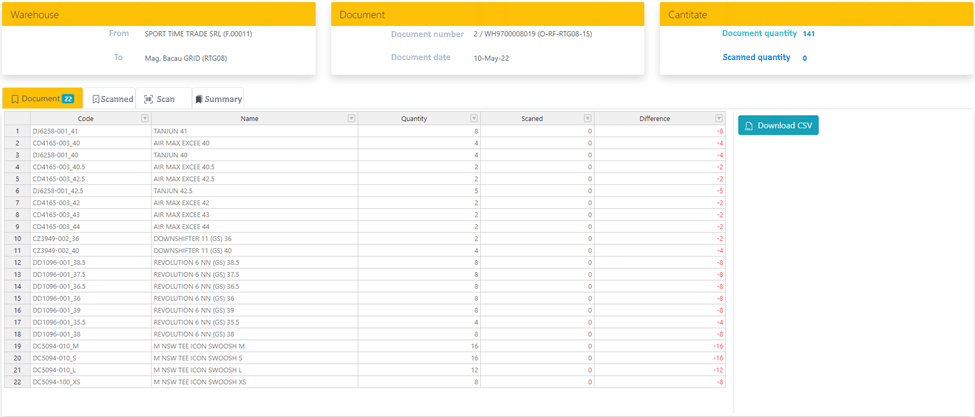
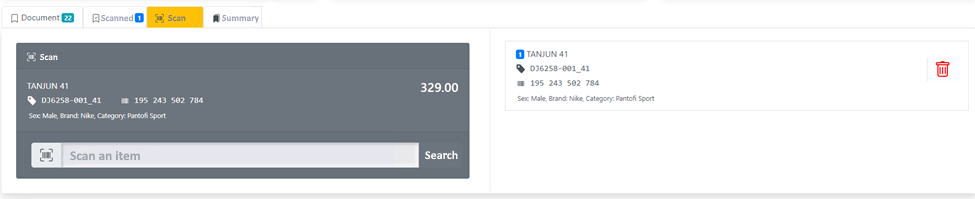
For scanning press the Scan tab, and in the field for introducing/scanning the code will proceed to the identification of the scanned item that will be displayed in the right side of the window. The scanning can be done successively, item by item.
All scanned items can be seen in the Scanned tab, here being able to be grouped by item code or to be downloaded with all elements as a .csv type document.

Remove Scanned Item.
In case an item was scanned incorrectly, after identifying it in the list, you can perform the delete operation by pressing the right mouse button and selecting the Remove row option.

Scan in stand by.
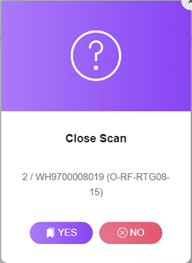
At the closing of the browser window, window in which the scanning and visualisation of the document are done, all the scans for that document are saved. The operation can be continued in the same way until the document's validation.

Scan Validation.
On the screen the unprocessed and the partial processed documents are displayed , the information regarding the number of items from the document and the received ones being shown in the right side of the window, next to each document.

Once the total or partial reception of the selected document has been finalized, it is necessary to validate it. The validation is done by pressing the Validate and Close key, action that is done from the Summary tab.

At the validation of the document you will be presented with the option to confirm or deny.
Once the validation has been confirmed, the justified document will be displayed on the screen for printing purposes.
In the reception screen only the unvalidated documents will be displayed.

Once you have come back to the main menu, the user will be able to see the number of unprocessed documents.
Partially Scanned Document.
In the case when, for the validated document, the reception was done partially, the document for which the partial scan was done will be displayed. This will be displayed only with the items that have yet to be scanned.

2. Expeditions
In the Grouped Orders or Orders to send tab the documents related to delivery will be displayed.

Important! The orders that are to be sent will be processed from the Grouped Orders tab. By processing the Orders that are to be sent in a grouped form we can avoid sending multiple deliveries to the same recipient, all orders to the same recipient being presented here in a grouped manner. For the confirmation of the deliveries you have to select the document or group of documents for which the delivery is being made, and on the screen you will see it's contents.
In the first tab "Document" the ordered item codes and names will be displayed, the related quantity from the order and the quantity scanned up until that point, including the difference between the scanned quantity and the one from the order.

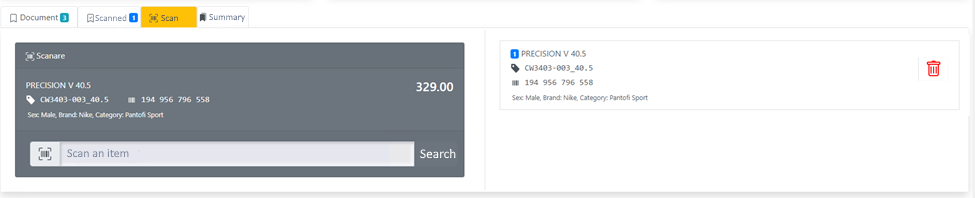
To scan you will have to select the Scan tab, and in the field used for the scan/filling in of the code, you will proceed to identify the scanned item which will be displayed in the right side of the screen. The scanning can be done repeatedly, item by item.
All the scanned items will also be able to be seen in the Scanned tab, here being able to download the scanned elements into a .csv type document.
Scanned item removal.
In the case of a wrongly scanned item, after you have identified it from the list, you can remove it by pressing the right click of the mouse and select the Remove Row option.
Stand by Scanning.
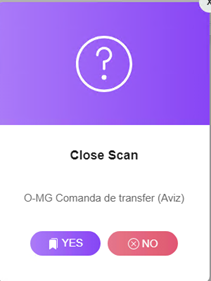
At the moment of the browser window closing, window in which all scanning and visualization operations of the document are being done, all scans done up until that point are saved. The operation can be resumed in the same way, until the document's validation.
Scan Validation.
On the screen you can see both the unprocessed and the processed documents as well as the partial processed ones, the information pertaining to the number of items in the document and the scanned ones being displayed in the right window beside every document.

Once the total or partial scan of the desired document has been finalized, it's validation will become necessary. The validation is done by pressing the Validate and Close key, action that is done from the Summary tab.

During the document's validation you will be presented with the option to confirm or deny it.
Once the validation has been confirmed. The justified document will be displayed on the screen for the printing operation.